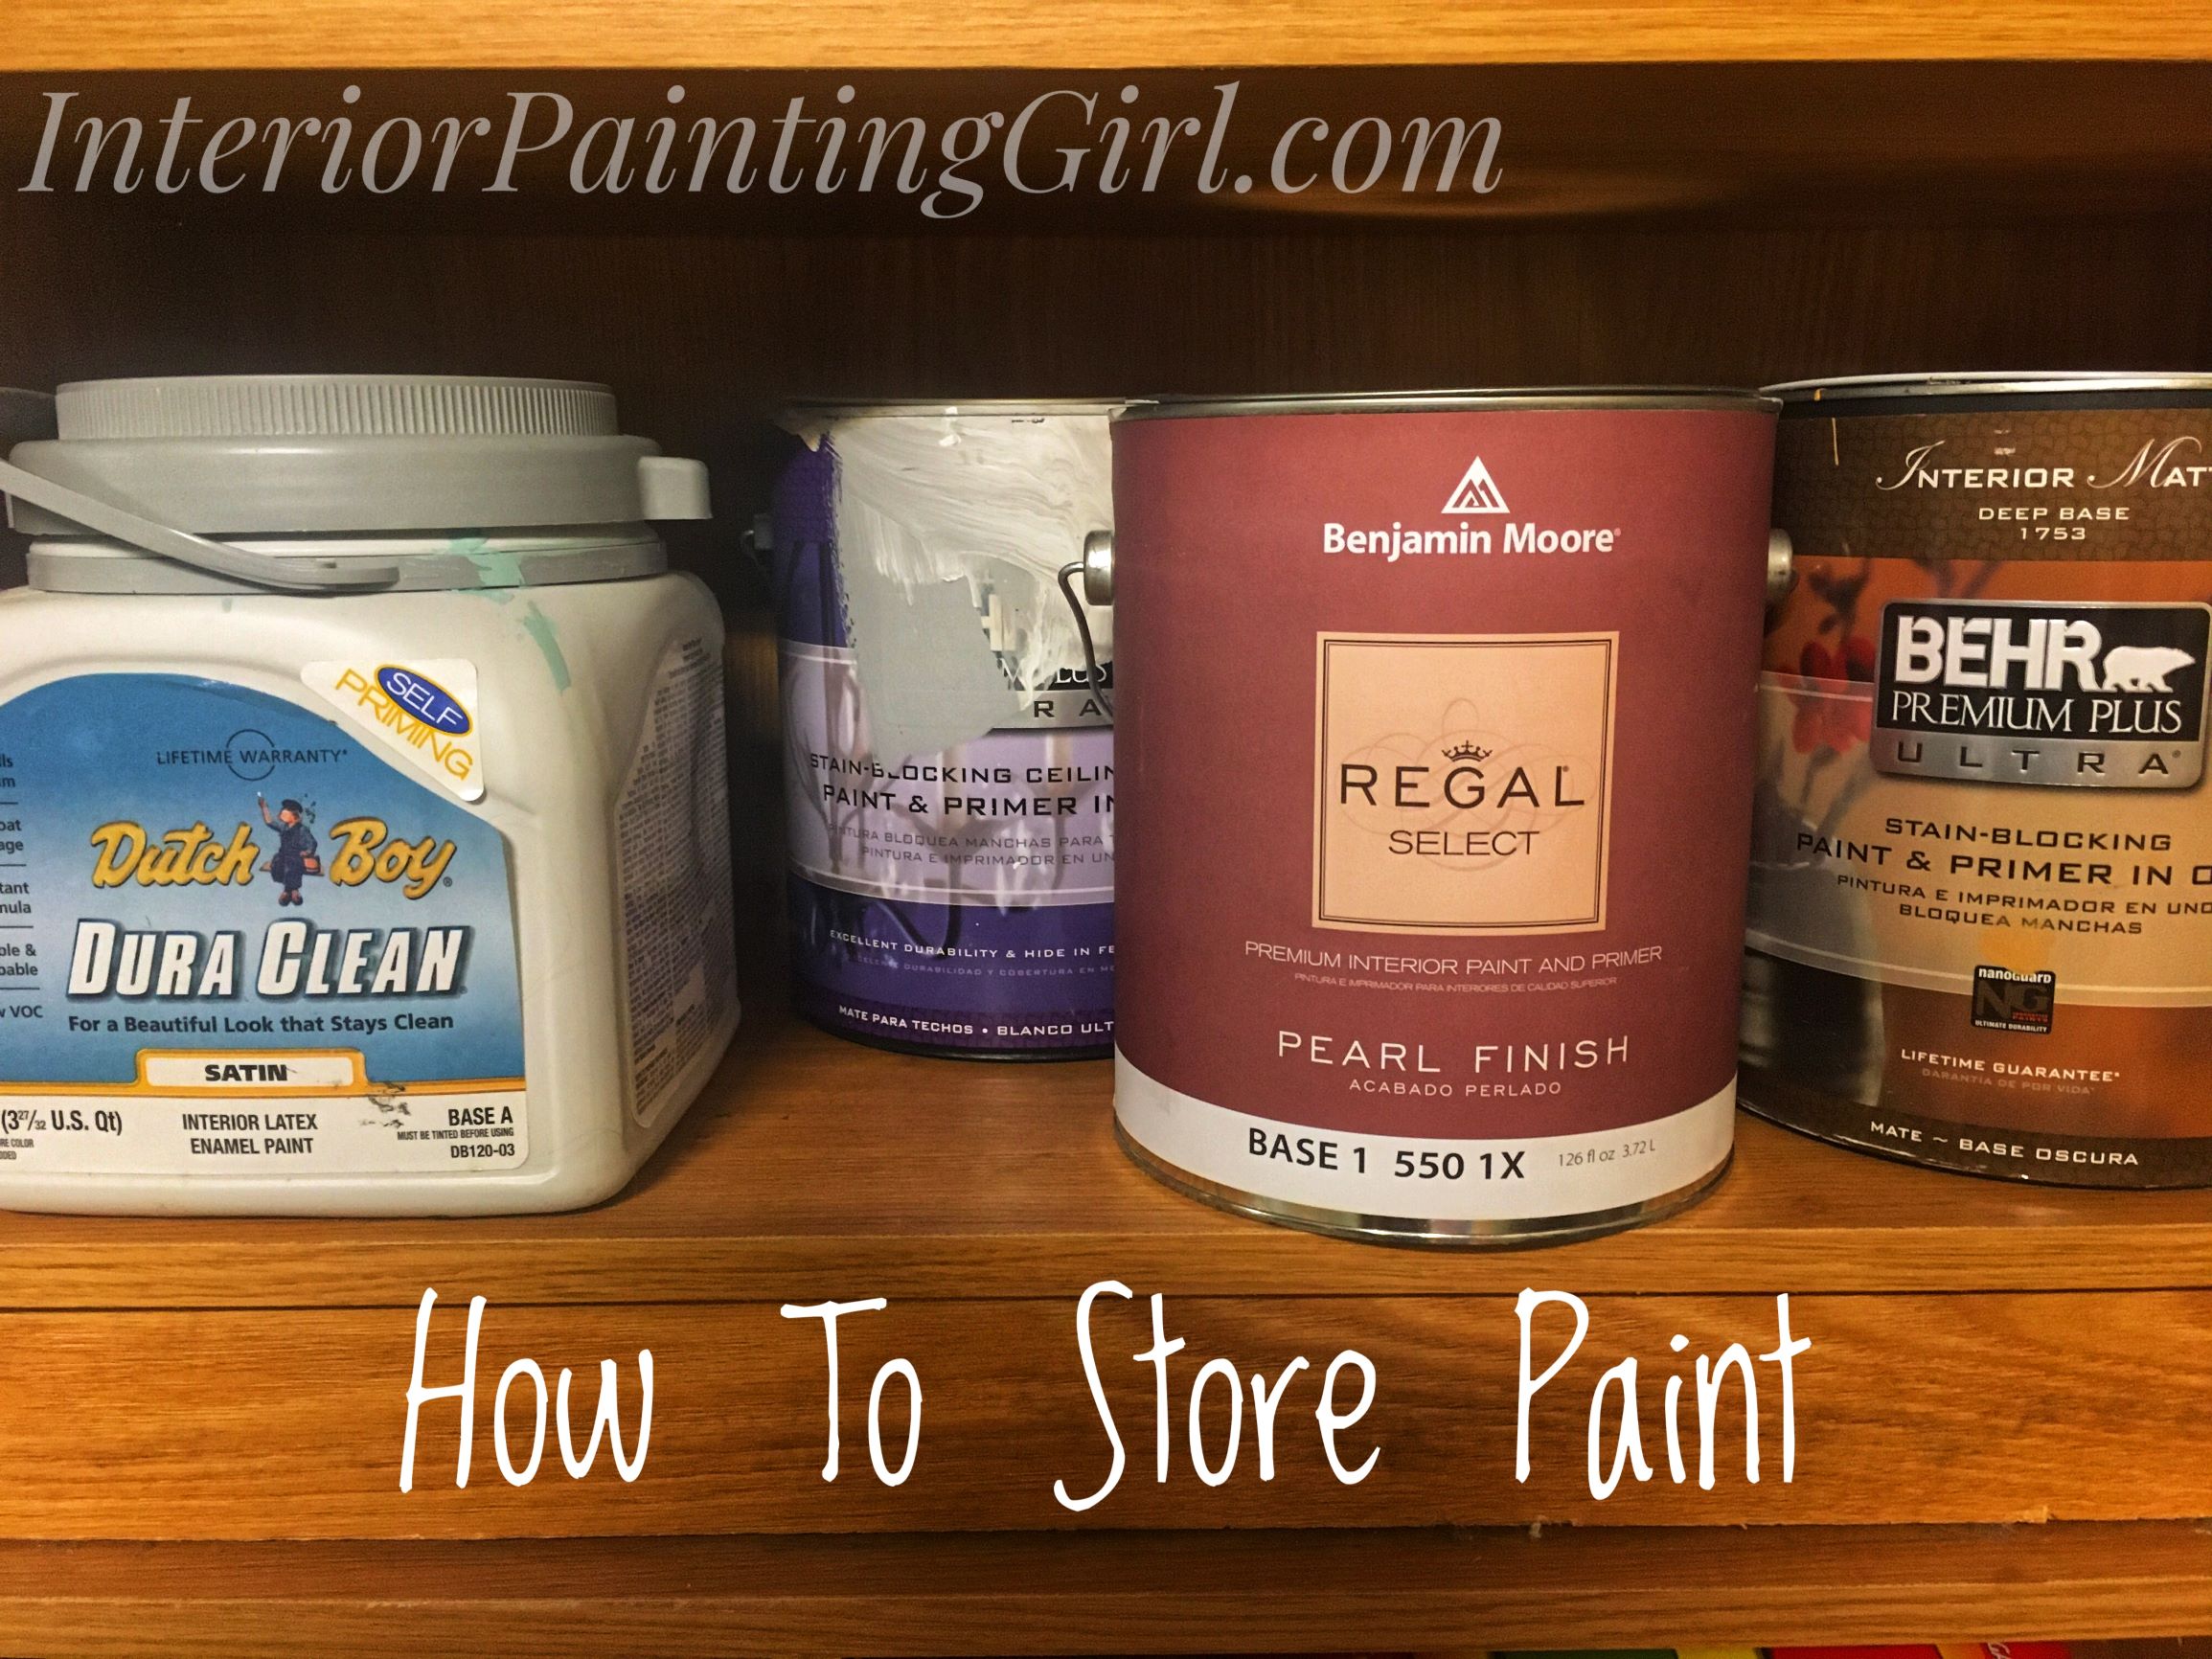
How To Store Paint
How to store paint partials is one of those neglected bits of information that is rarely covered by how-to guides and home improvement stores. But it’s something that all homeowners will need to know at some point.
One painting tip that all professionals and home improvement stores will tell you is to “buy extra paint”. It’s good advice. Buy more than you think you'll need. It’s important for two reasons:
1.) You will make mistakes, either while painting or while estimating your needs (or both!). No one wants to stop close to the very end of your project to make another paint run.
2.) You will want extra paint of the same color, and preferably from the same batch, for future touch-ups or repairs.
Having extra paint is certainly a must, but knowing how to store paint that is leftover is equally crucial. It can be a real spoiler six months or a year after painting a room to reach for the touch-up can and find that it has dried out or spoiled in some other way.
The key concern with partial paint cans it keeping it fresh, and the most important factors in this are proper sealing and proper storage.
Proper sealing keeps the air out. Keep paint fresh in the same way you keep your bread and your coffee fresh, by sealing it as airtight as possible.
Proper storage is a matter of keeping it warm and dry - off of musty and damp floors and both warm enough not to freeze and out of direct sunlight.
Properly sealed and stored, interior latex paint can remain good for several years.
Plastic Paint Cans
Some paint manufacturers sell paint in plastic “pourable” containers. Here are a few keys to ensuring these are properly sealed and will remain fresh:
- Ensure all the threads are clean of paint after use. Wipe all the threads of the lid down with a damp cloth to remove any wet or dried paint prior to re-closing the lid. Screwing the cap closed on wet paint can both allow air into the can, causing it to dry out, and dry on the threads making the lid nearly impossible to open the next time around.
- Apply a light coating of petroleum jelly to the clean outer threads. This both assists with airtight sealing and will make your lids considerably easier to open the next time around. Just be cautious not to get any in your paint!
Seven Tips: How To Store Paint
How To Store Paint: Tip #1
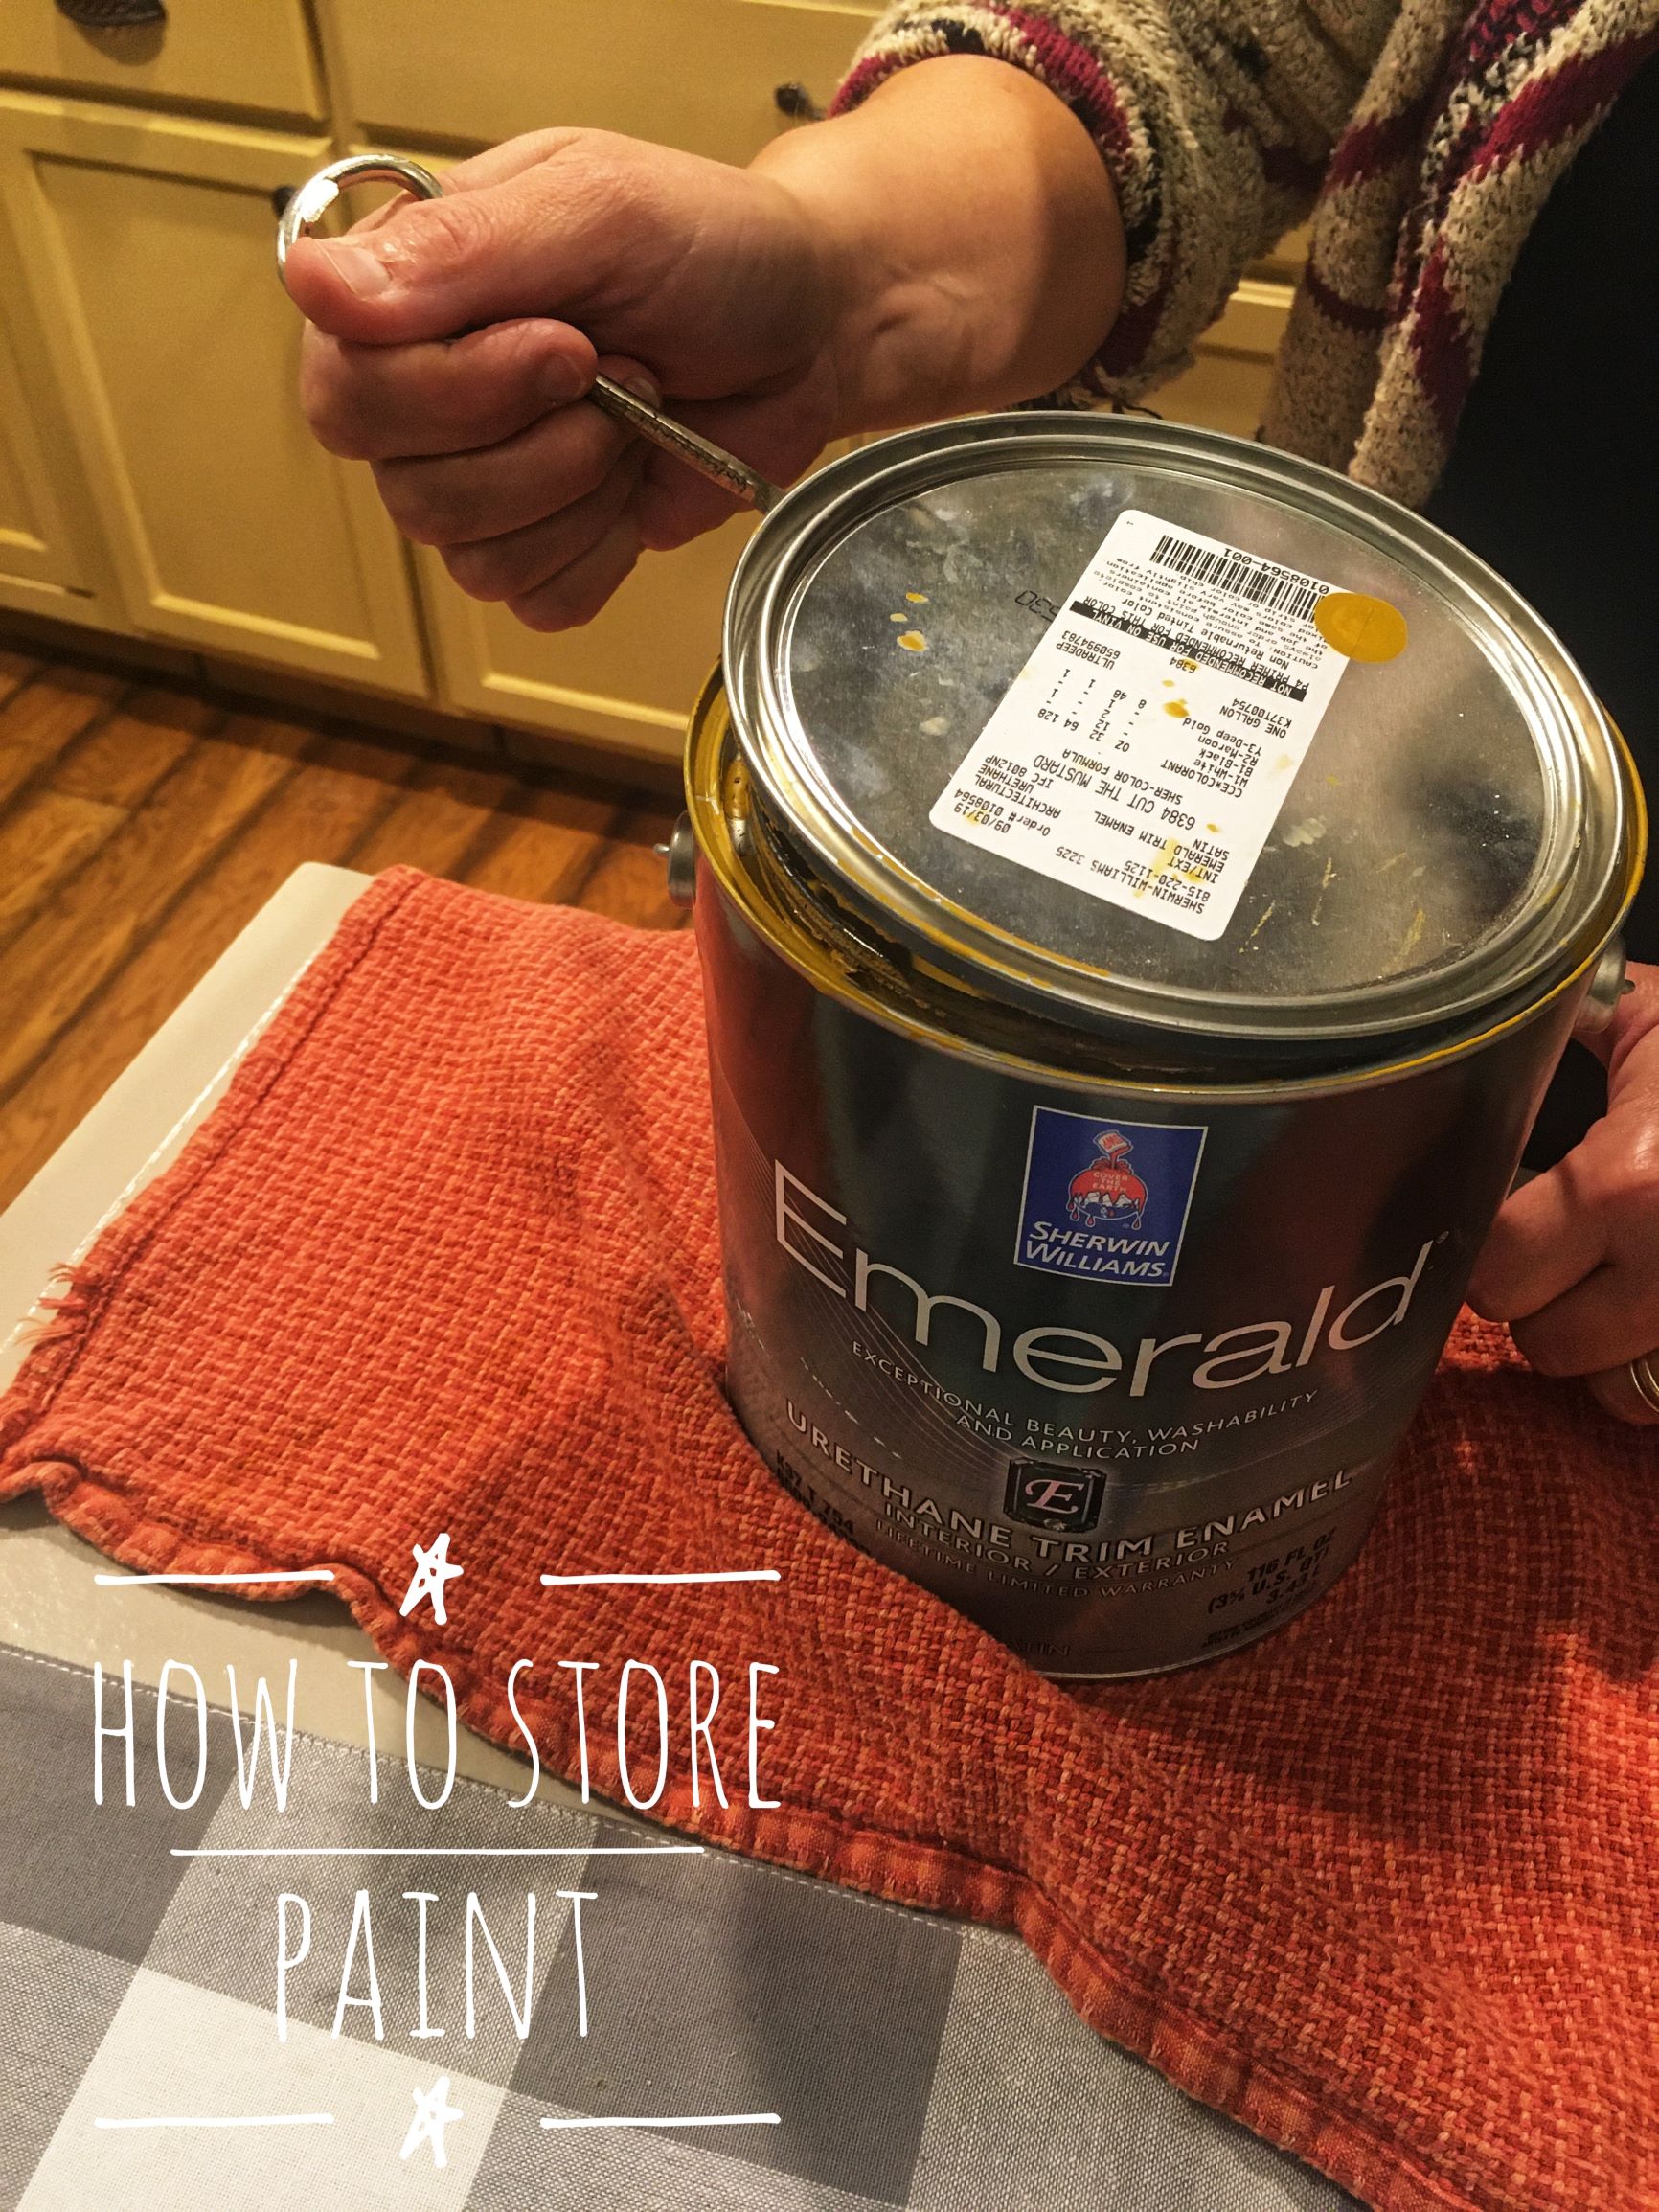
Use a paint can opener to remove the lid on your cans of paint. Most home improvement and paint stores will provide one free of charge with a purchase of paint. These hook underneath the lip of the can and pull it open without damaging the lid or the seal of the can.
How To Store Paint: Tip #2
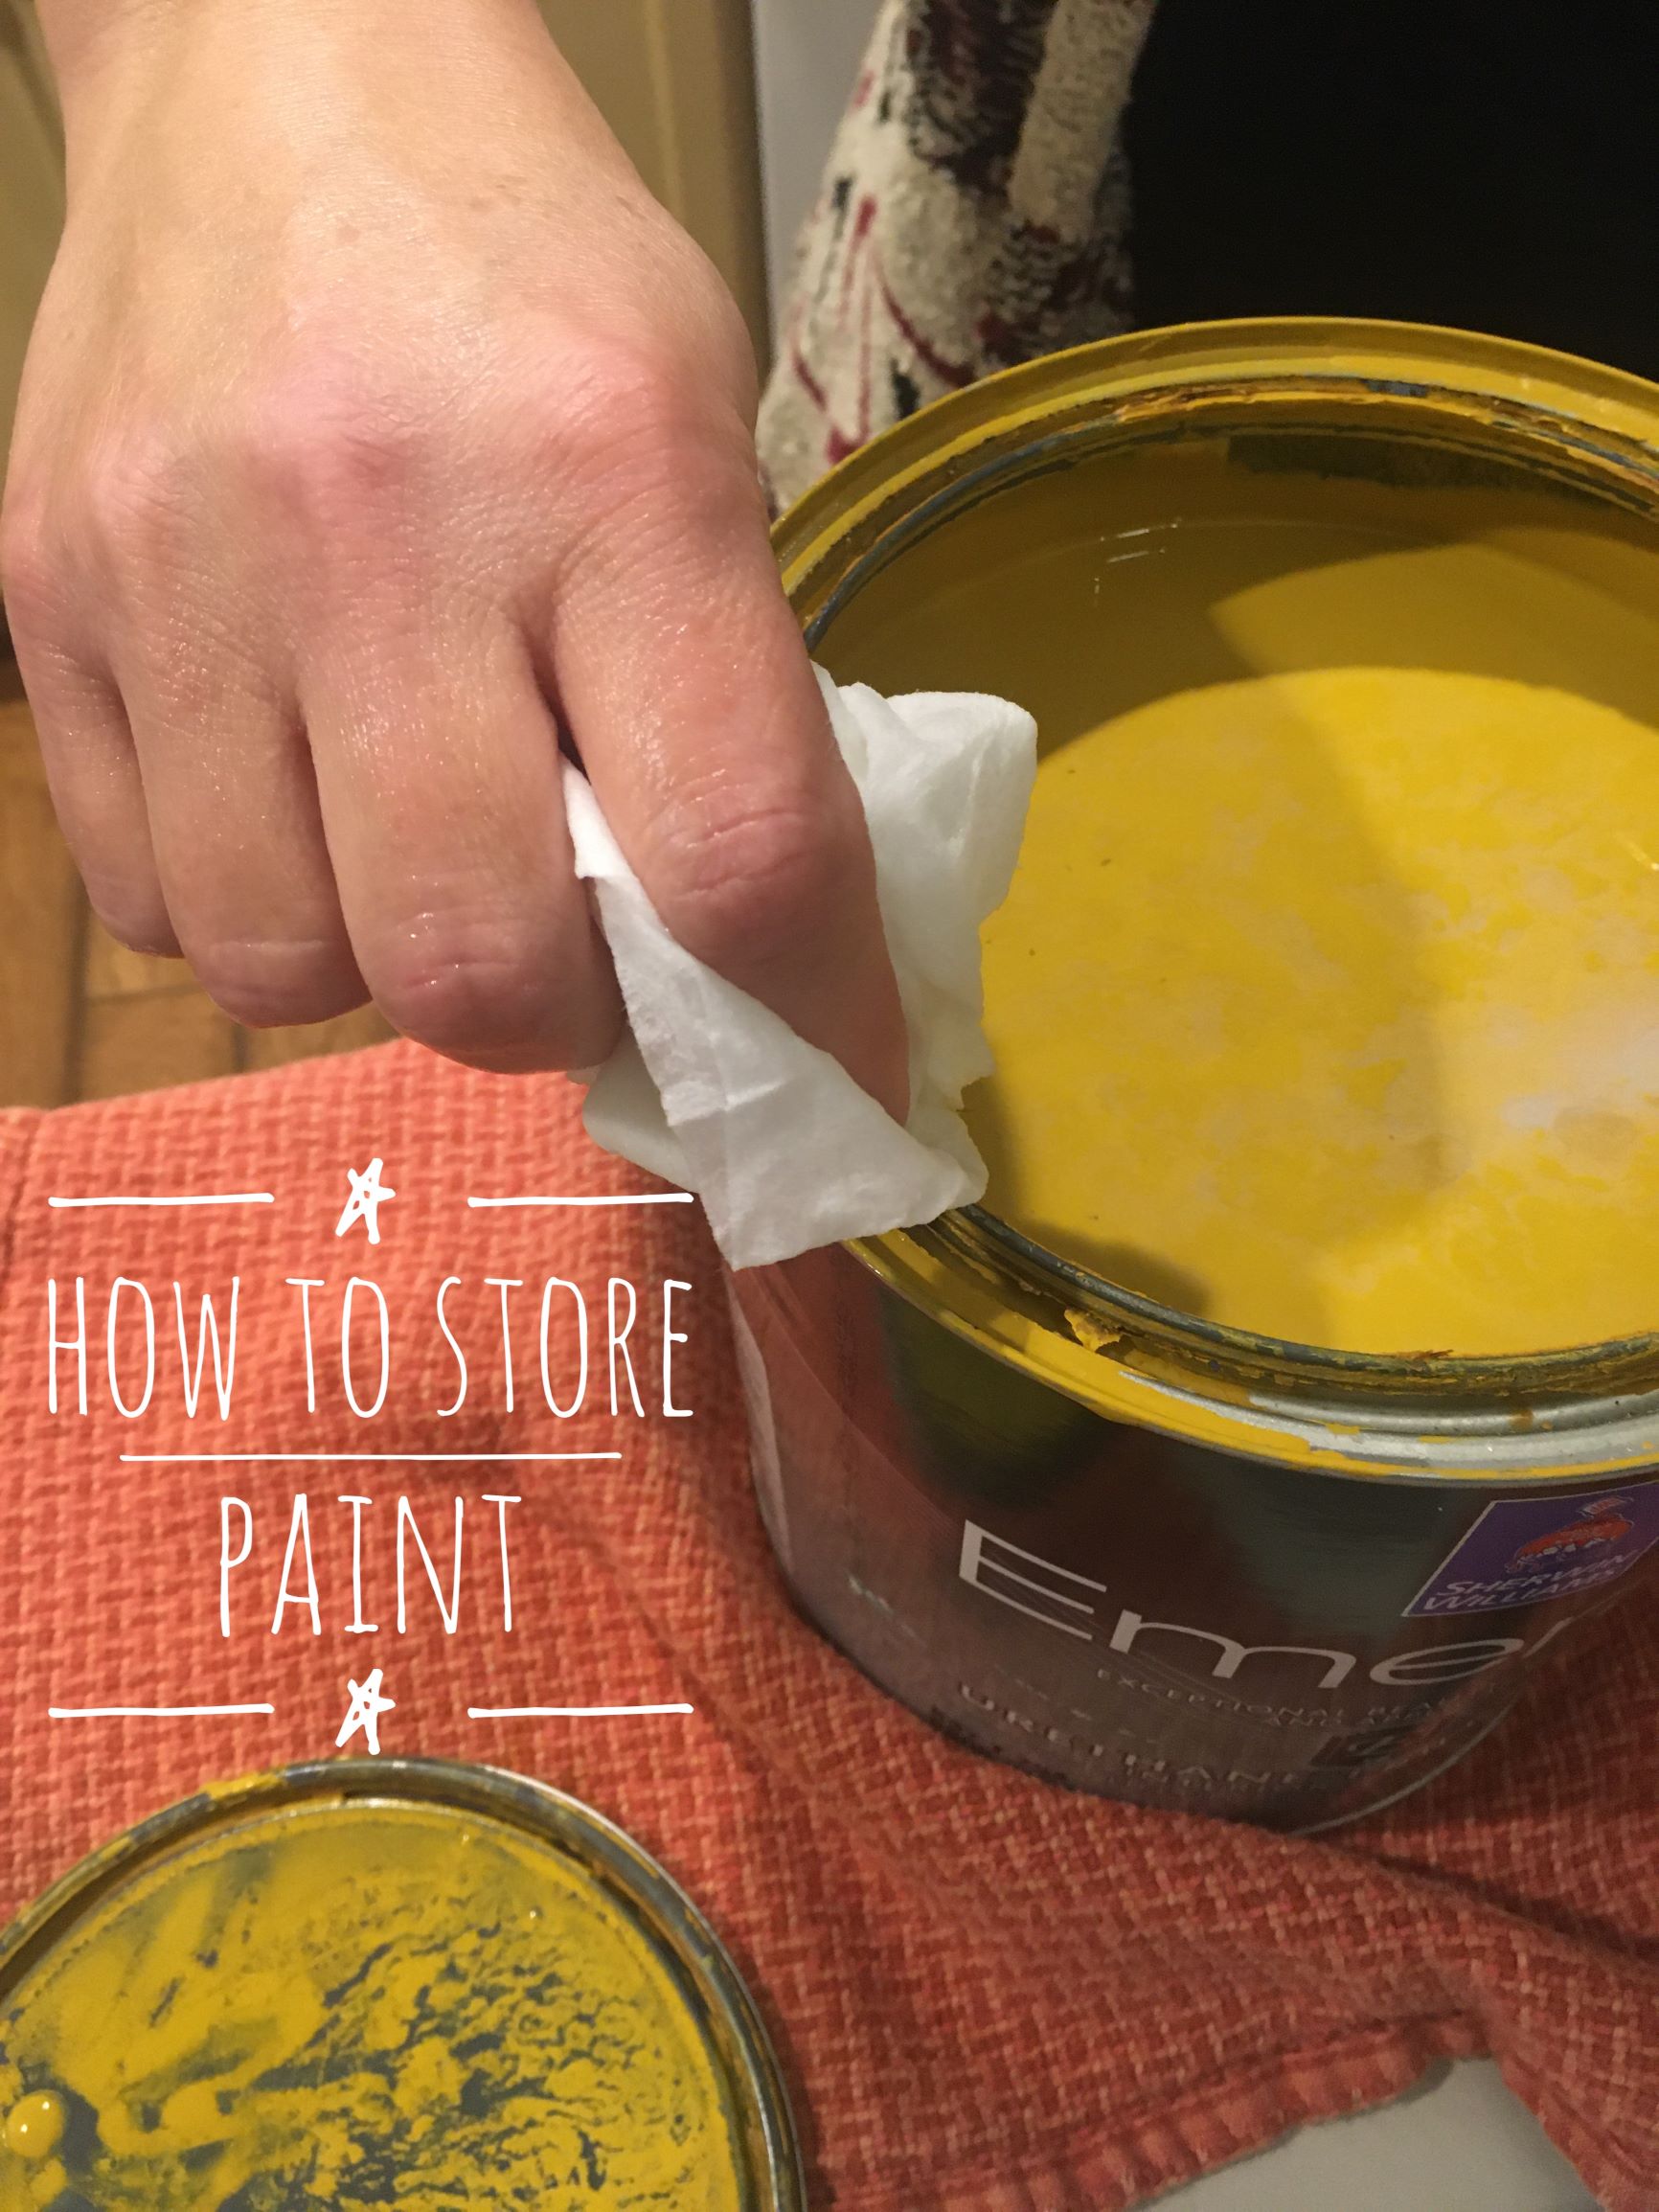
Thoroughly clean all paint residue out of the sealing groove of the can after use. This includes both the sealing lip of the lid and the groove at the top of the can. This paint will dry and disrupt the seal on the can, allowing air in.
It will also make your paint can that much more difficult to open again down the road.
Clean any paint from the edges with a damp cloth and remove any dried paint with a utility knife or the edge of the clean putty knife.
How To Store Paint: Tip #3
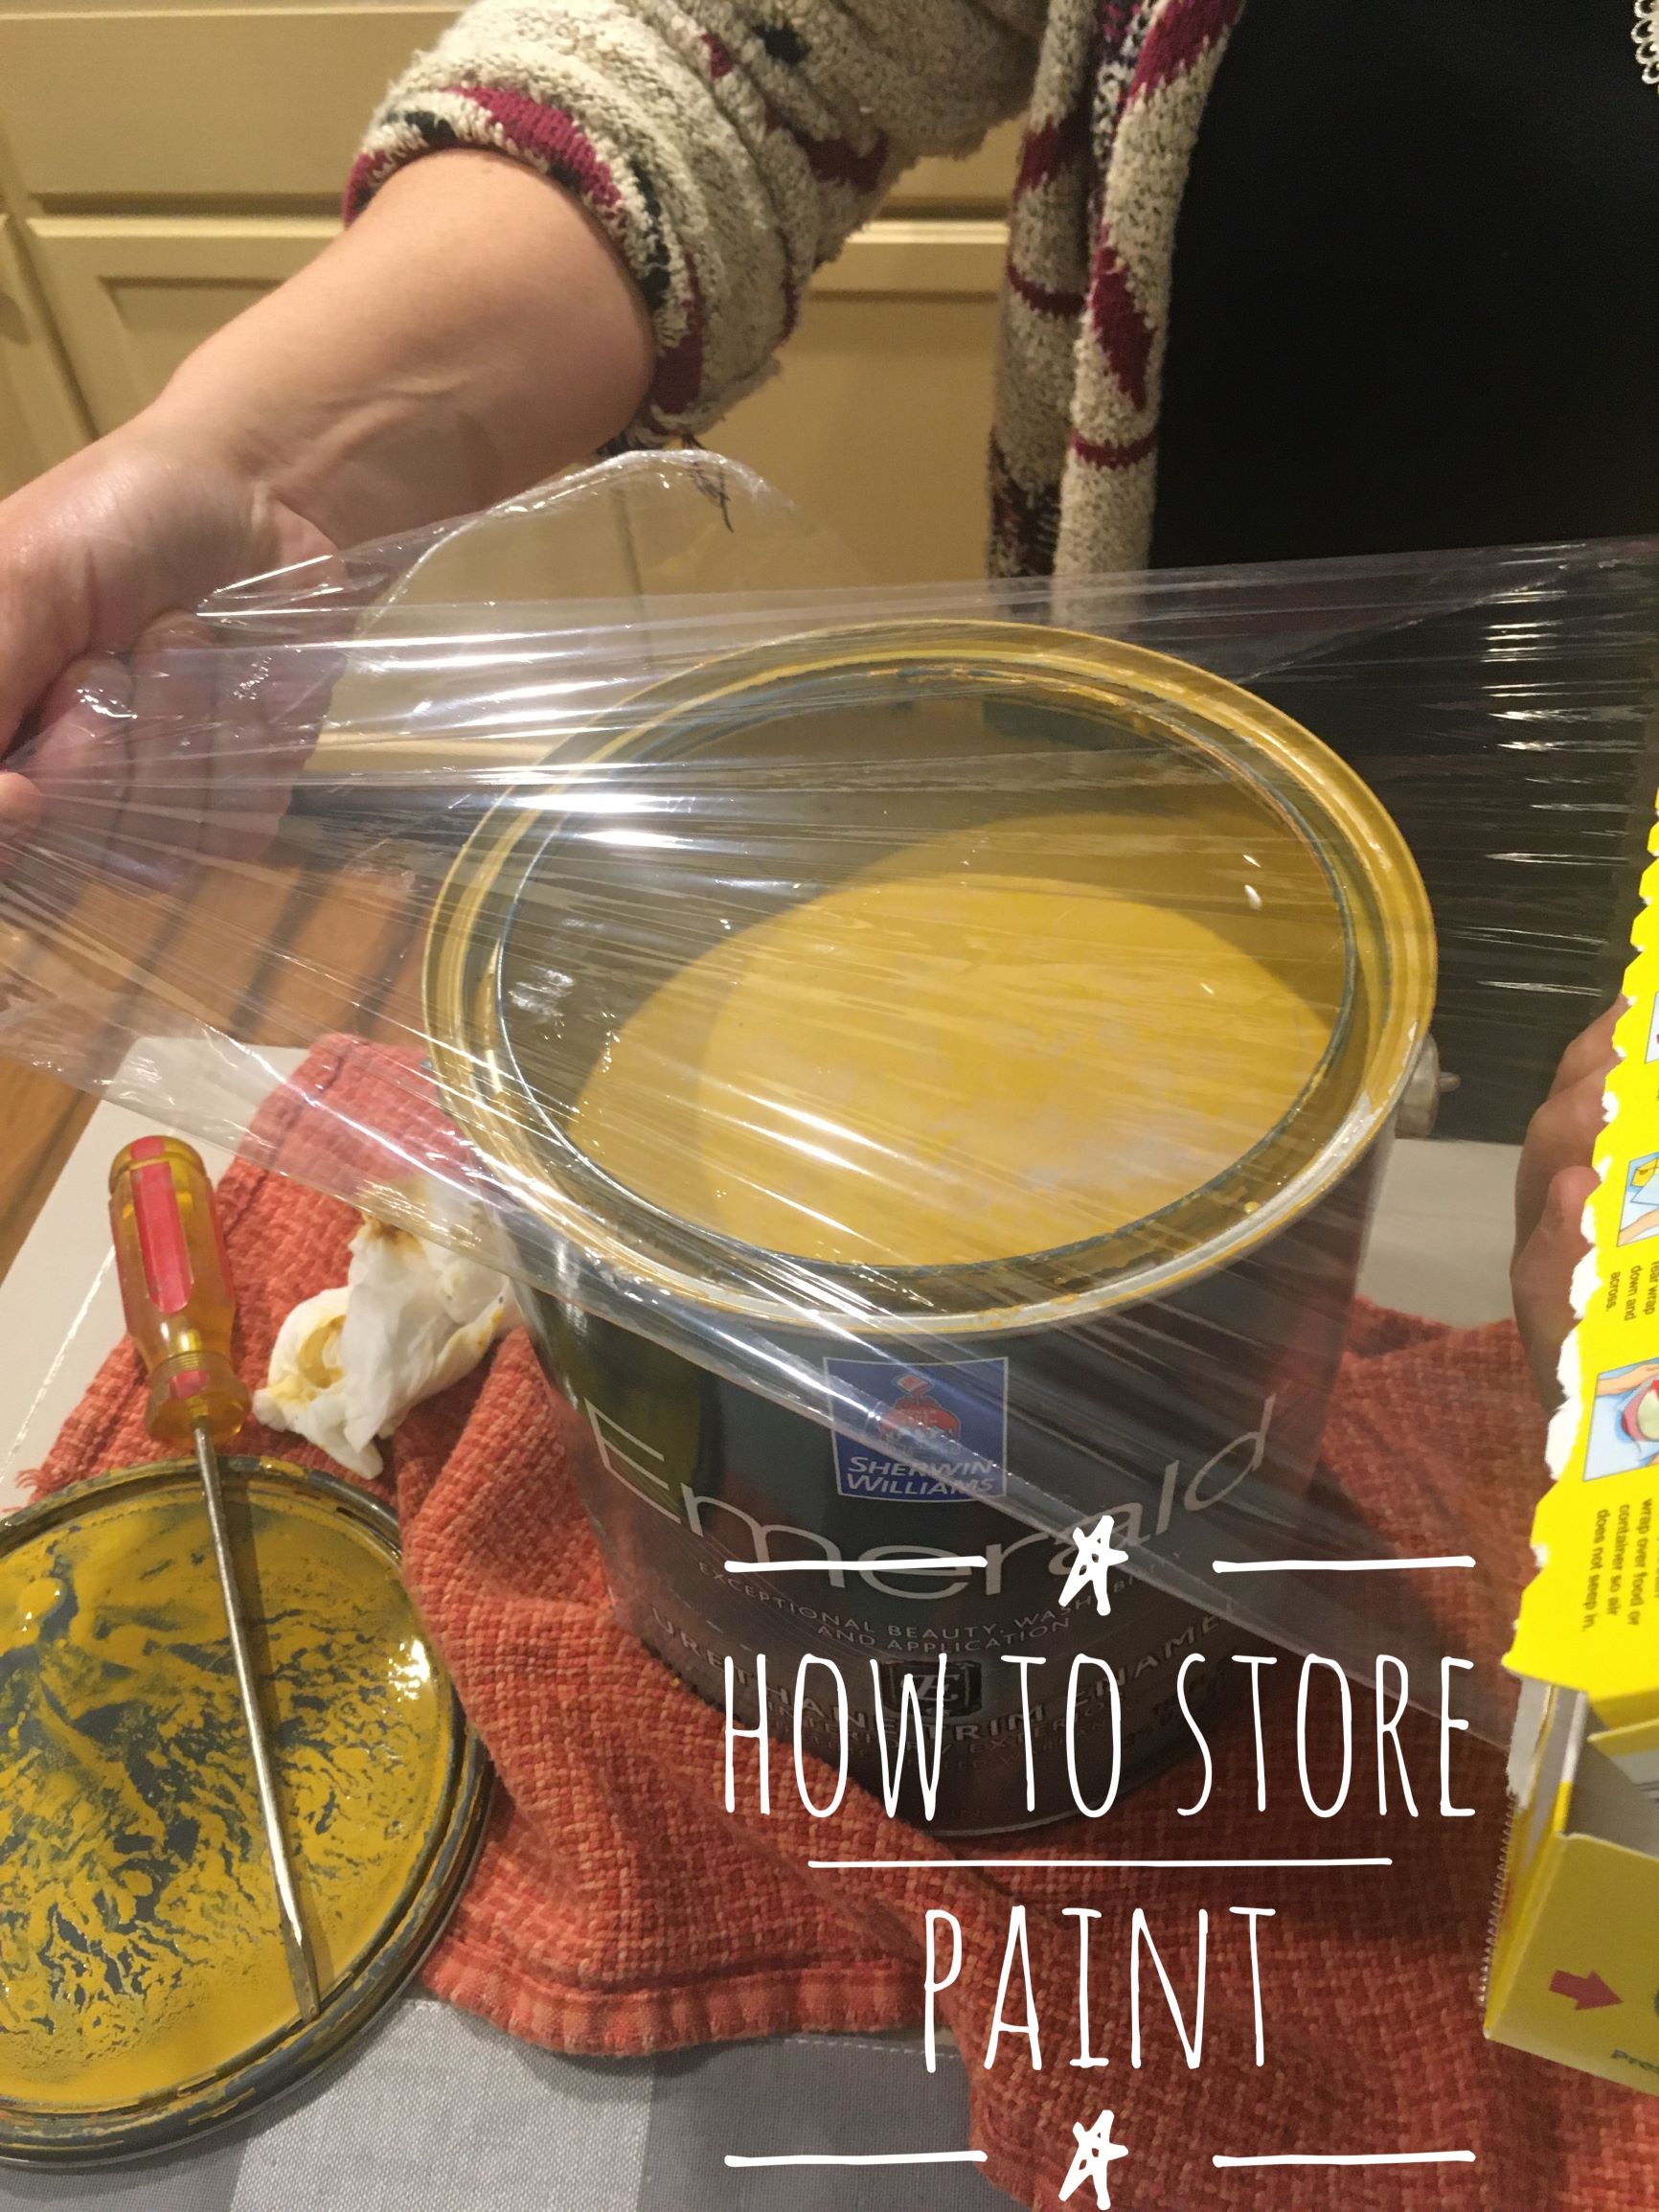
To create a homemade “gasket” for the lid of your can, cut a circle a little larger than the top of the can from a plastic shopping bag or plastic wrap. This will help form an airtight barrier between the can and the lid.
How To Store Paint: Tip #4
Be sure to tap the lid down snugly and evenly! Don’t use a hammer directly on the lid as this can damage the lid or can and thus the seal.
Use a rubber mallet or place a block of wood over the lid and tap firmly all the way along the circumference of the lid to form a seal. Ensure the lid is seated evenly in the groove all the way around.
How To Store Paint: Tip #5
It is advised not to store metal paint cans directly on concrete floors. Concrete holds and emits moisture as it heats and cools and can rust the base of paint cans very quickly. Ideally they should be placed on a shelf off the ground.
How To Store Paint: Tip #6
Store all paint in a suitable climate. Water-based (latex) paint will freeze if stored below freezing. Once latex paint has frozen it will separate and will no longer be usable.
How To Store Paint: Tip #7
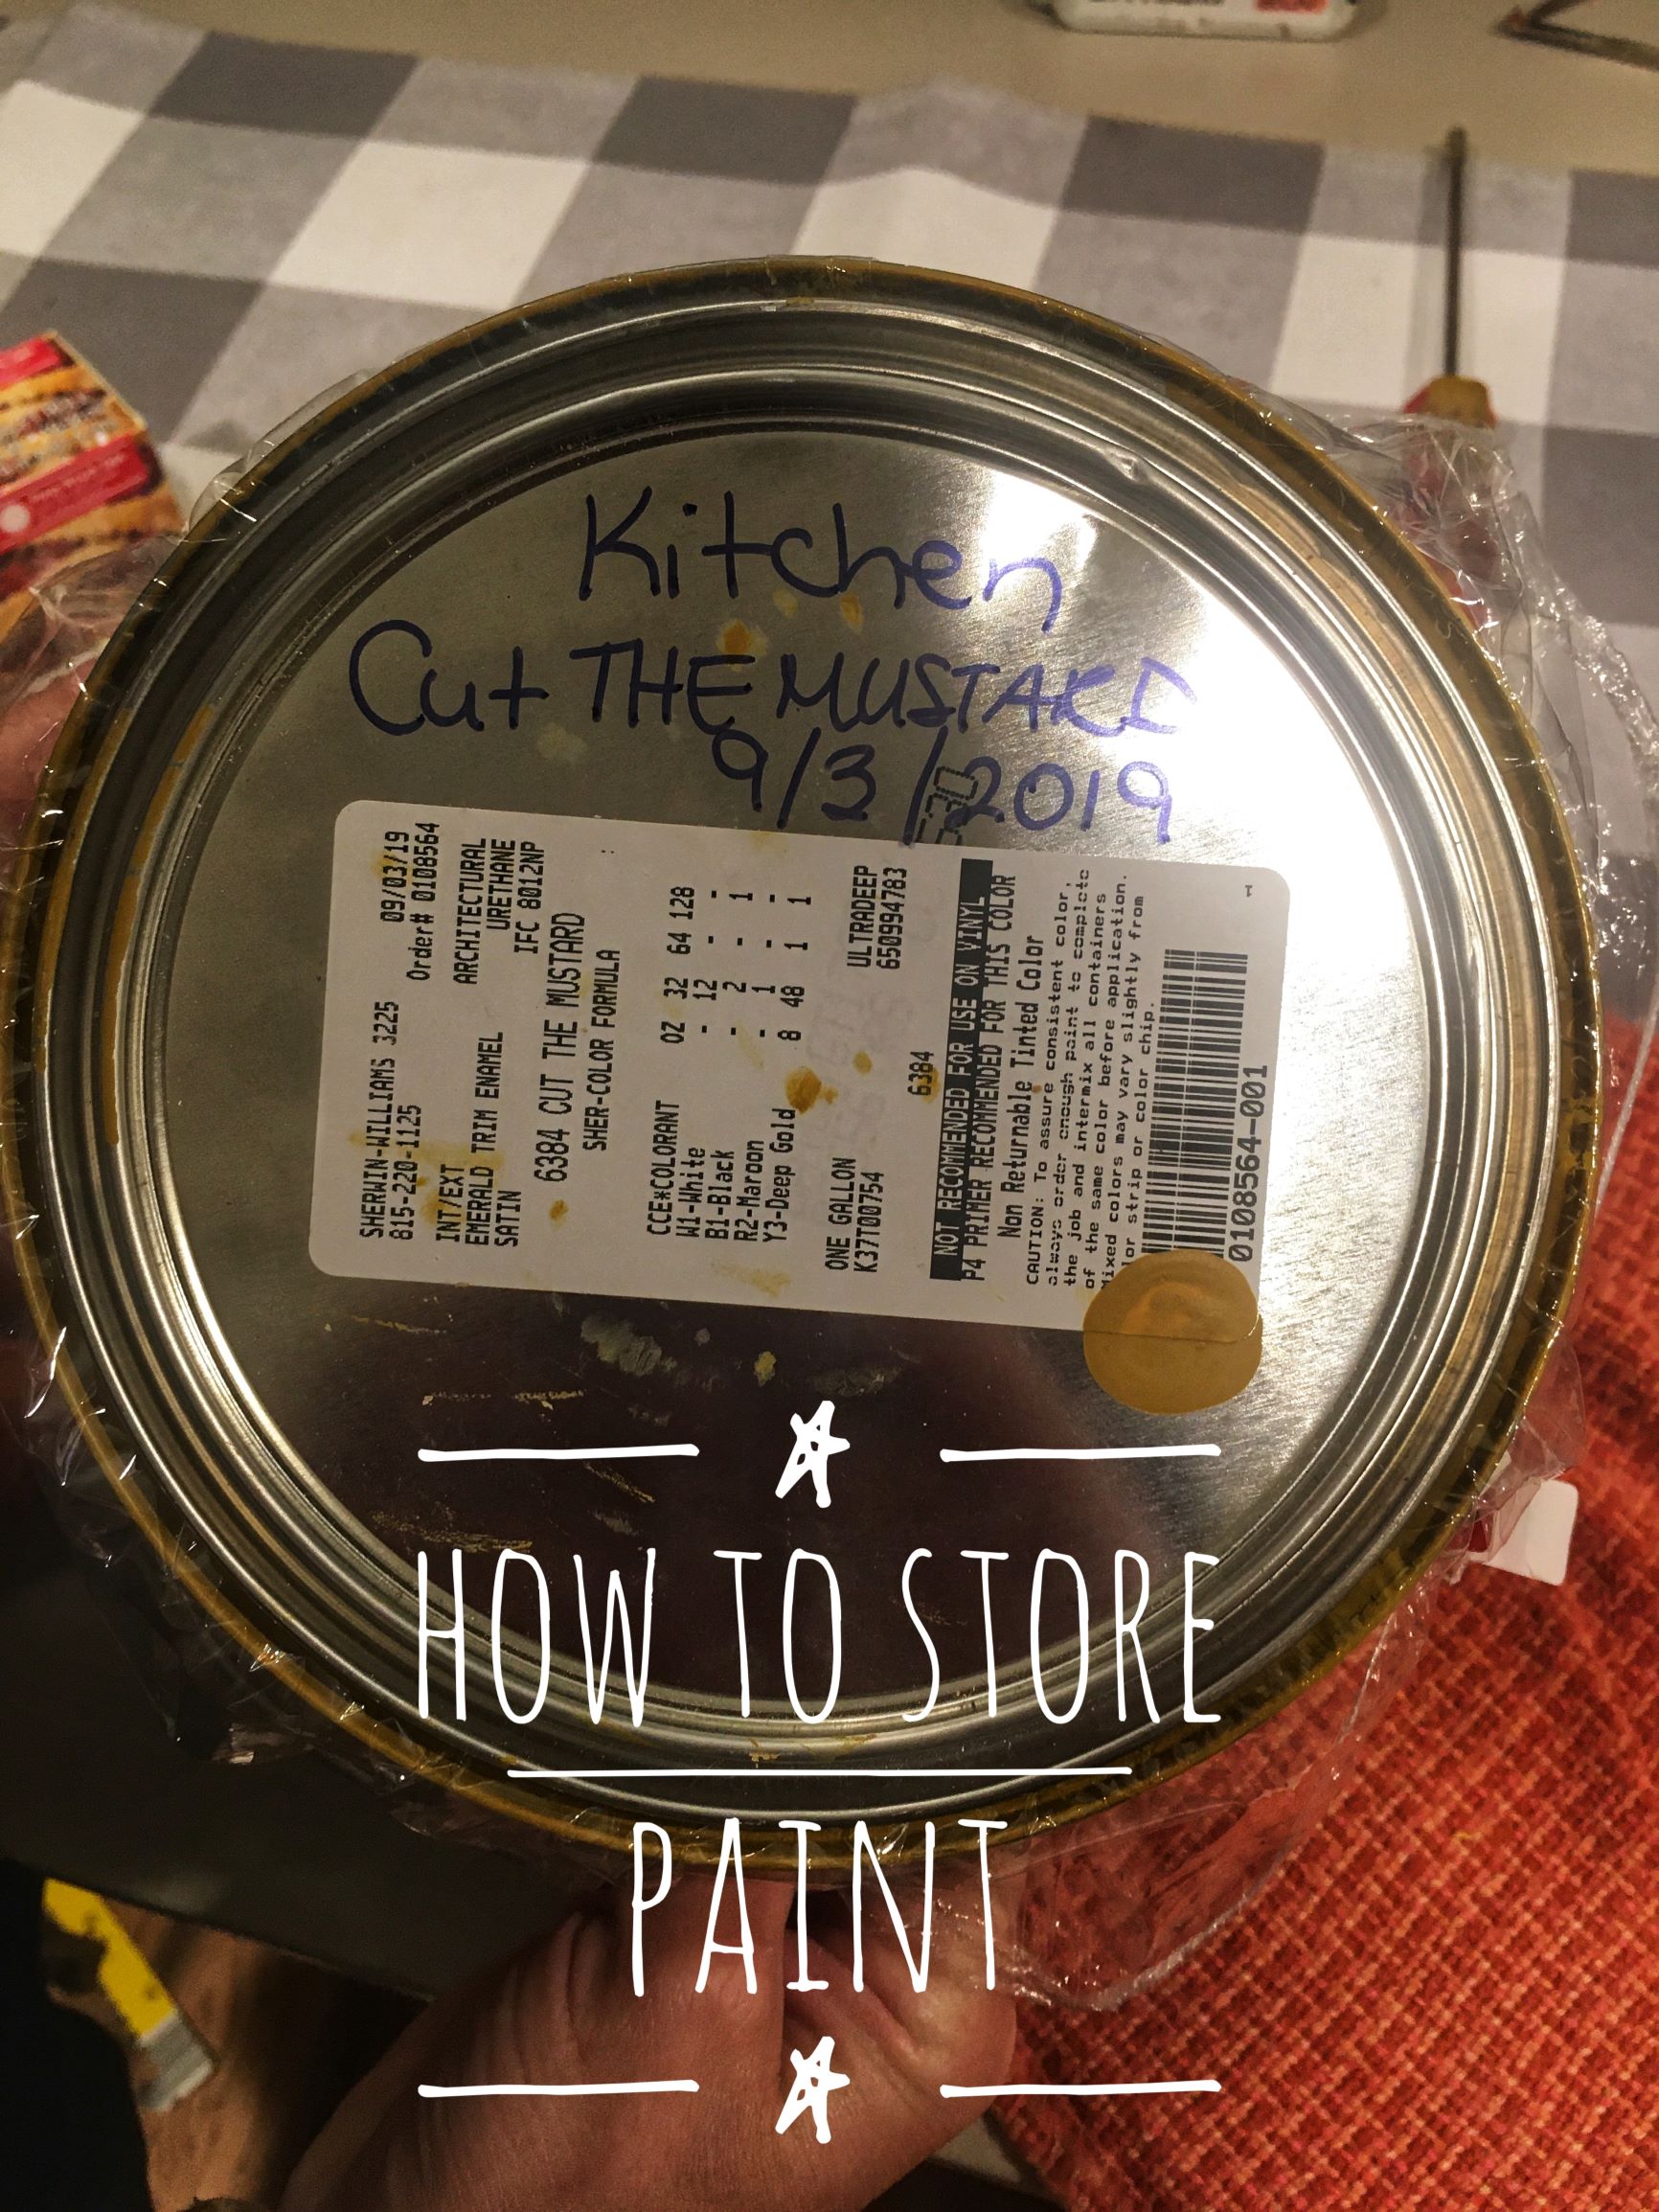
Write the date, paint manufacturer, color, and room in permanent marker on the lid of the can. This will help you organize your paint cans and ensure you have the information you need down the road.
I hope these tips on how to store paint will help keep your leftover paint fresh and ready for use!
